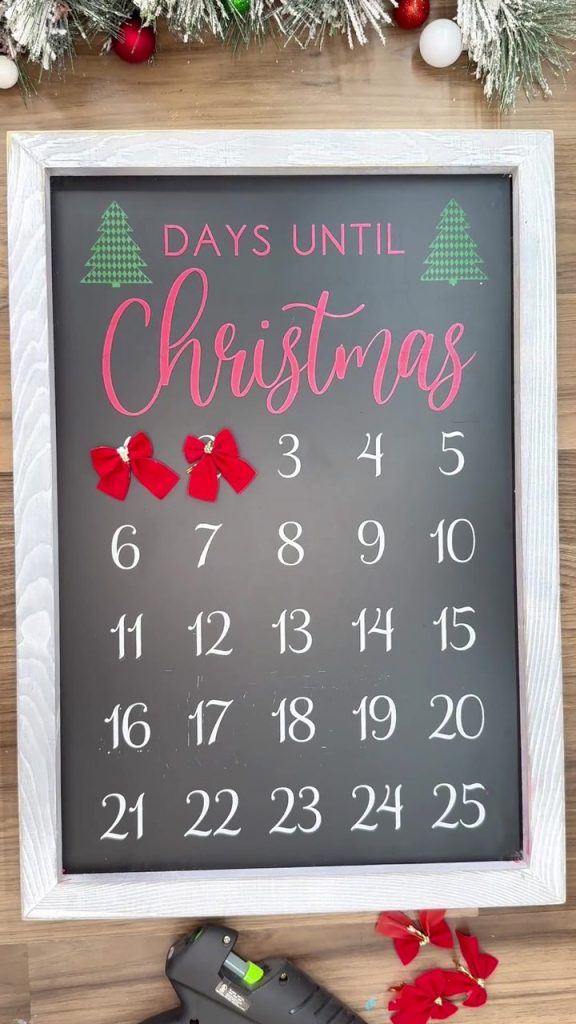
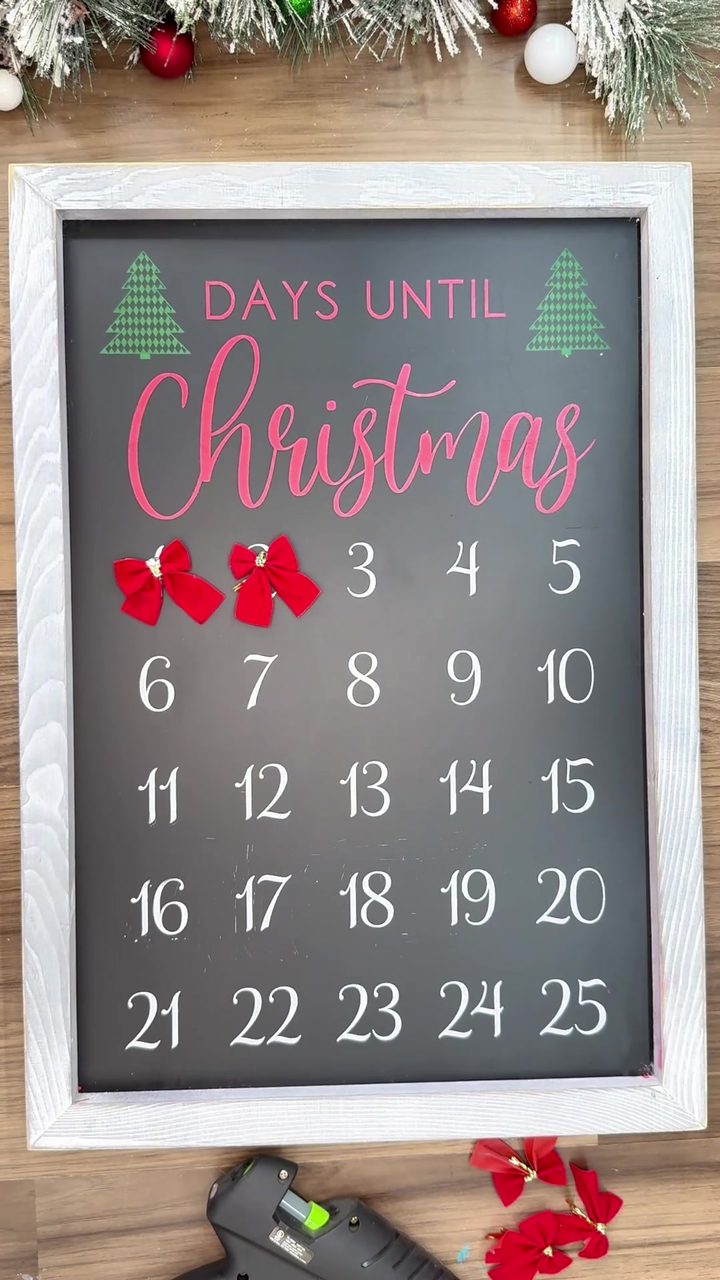
Counting down to Christmas is half the fun, and this DIY advent calendar makes it a little cuter every single day. We made this Christmas countdown chalkboard with one of our reusable stencils, a little chalk paste and a few mini bows. And the best part? No hand lettering, no cutting machine, and it’s ready to hang before December 1.
The Whole Project in 35 Seconds
Peel, place, paste, peel and reveal. That’s really all there is to it.
What You’ll Need
- Our Advent Calendar stencil (12×18)
- Our 12×18 White Distressed Shelf Sitter (we made ours on a framed chalkboard, and the shelf sitter is a perfect fit for this size)
- Chalk paste in red, white and green
- A mini squeegee
- A Tacky Towel (or a soft T-shirt)
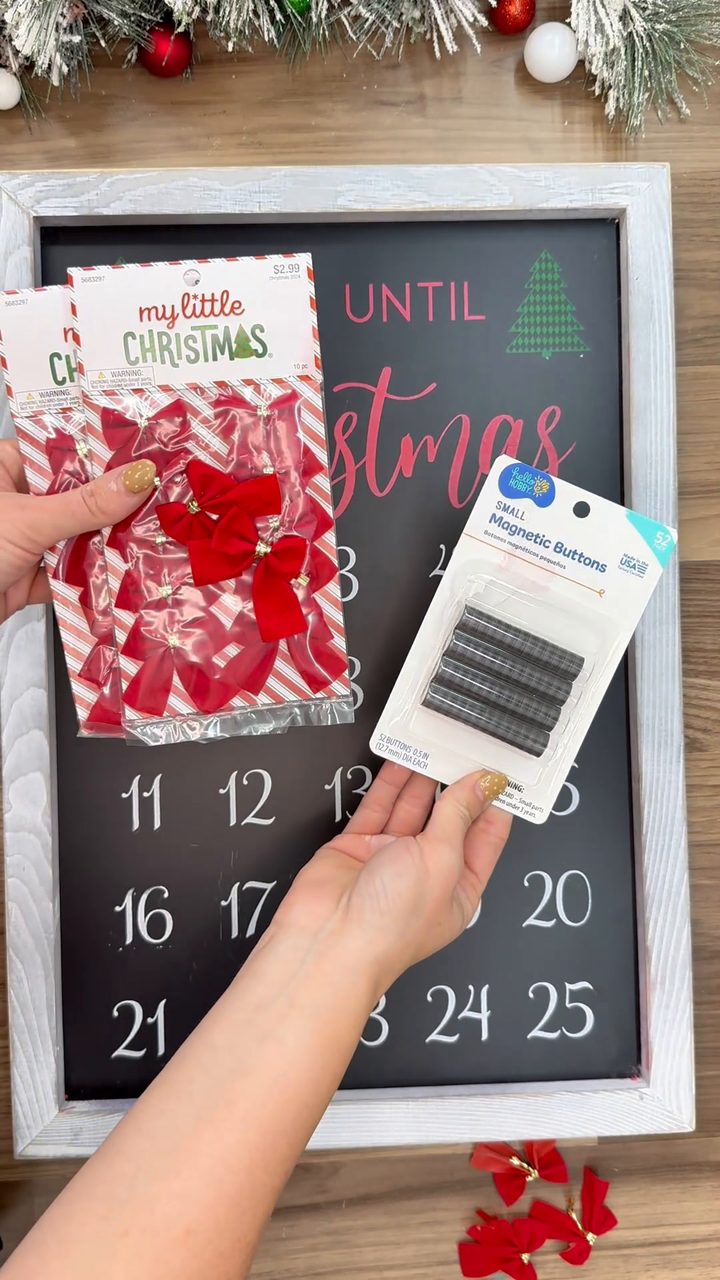
- Mini bows, small magnets and a hot glue gun, for marking off the days
How to Make a DIY Advent Calendar
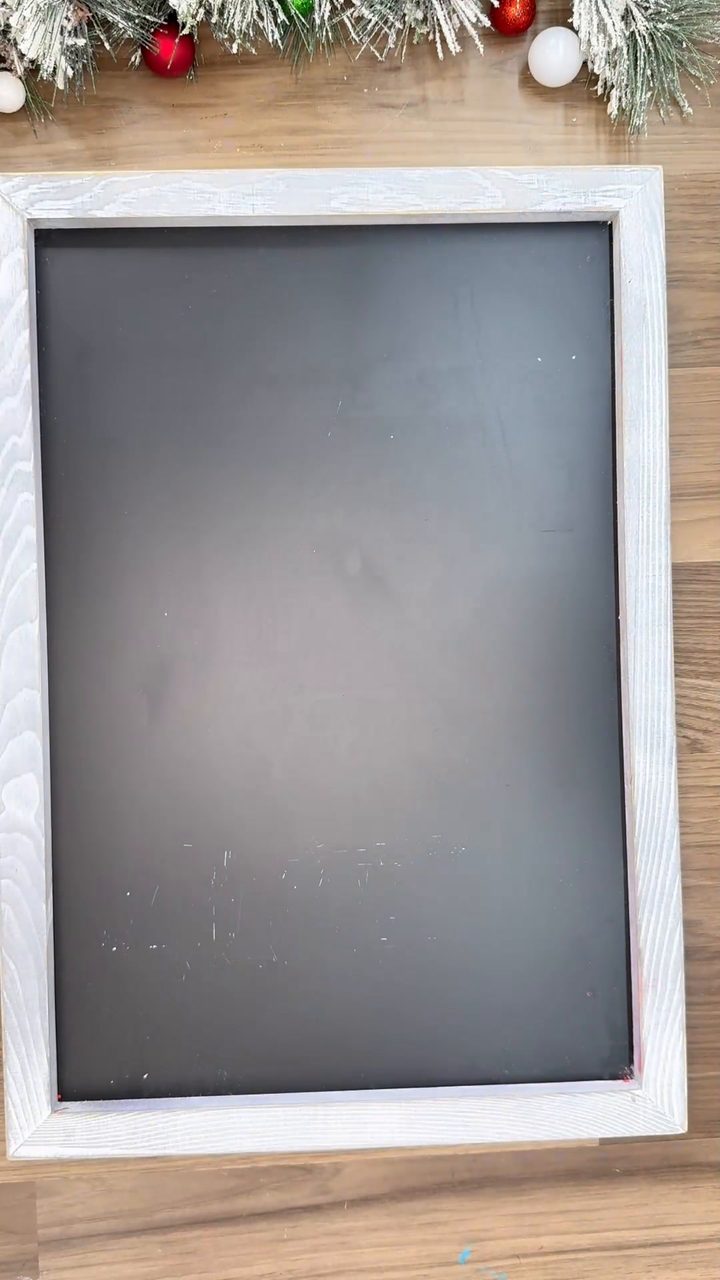
Here’s our blank chalkboard before we started. Clean and dry is all it needs.
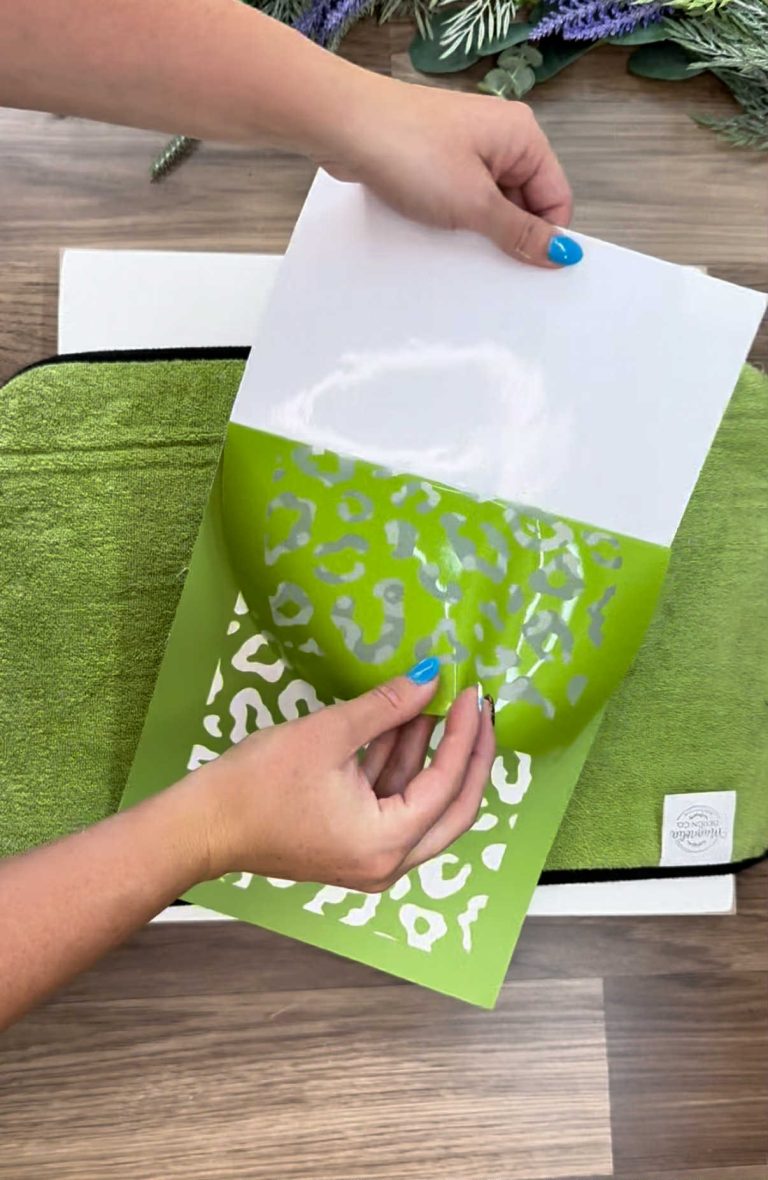
New stencil? Fuzz it first. Press the sticky side onto a Tacky Towel or a soft T-shirt a couple of times and lift it off, so it peels away from your project cleanly later. Then peel the stencil off its backing top to bottom, never corner to corner, so it doesn’t stretch.
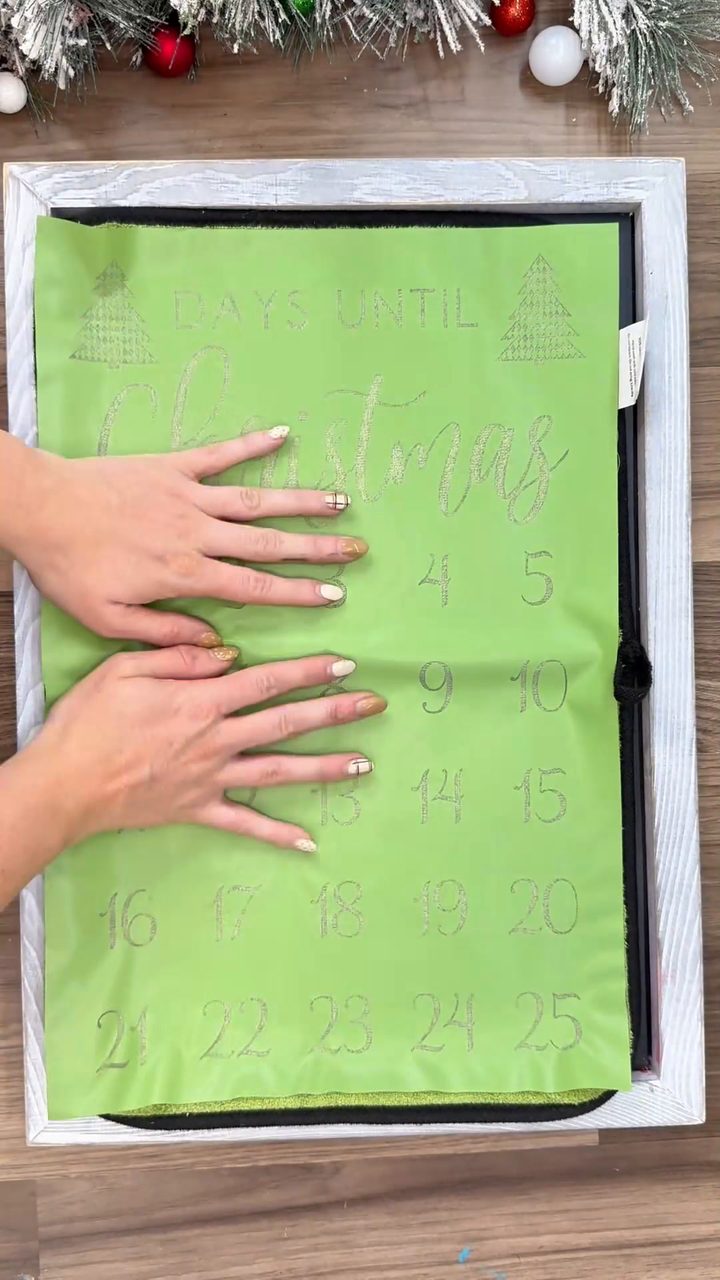
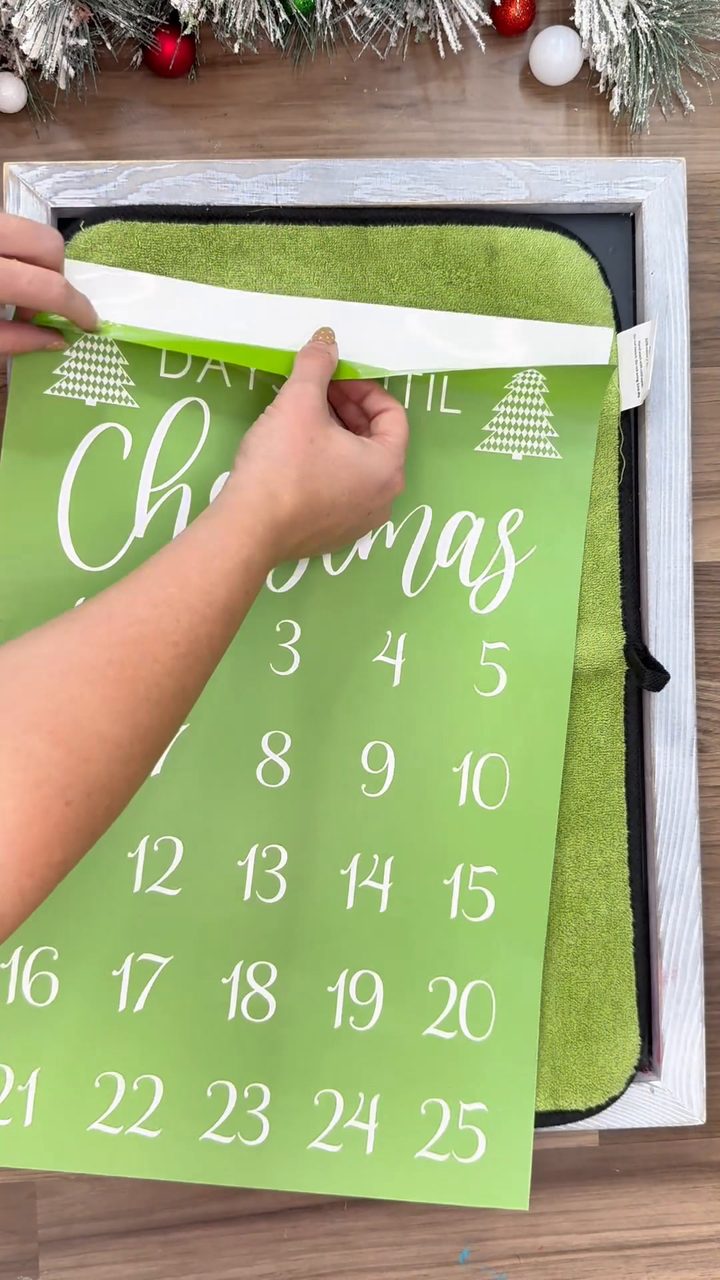
Lay the stencil sticky side down on your chalkboard and smooth it from the middle out. No measuring and no guessing, just put it where you want it.
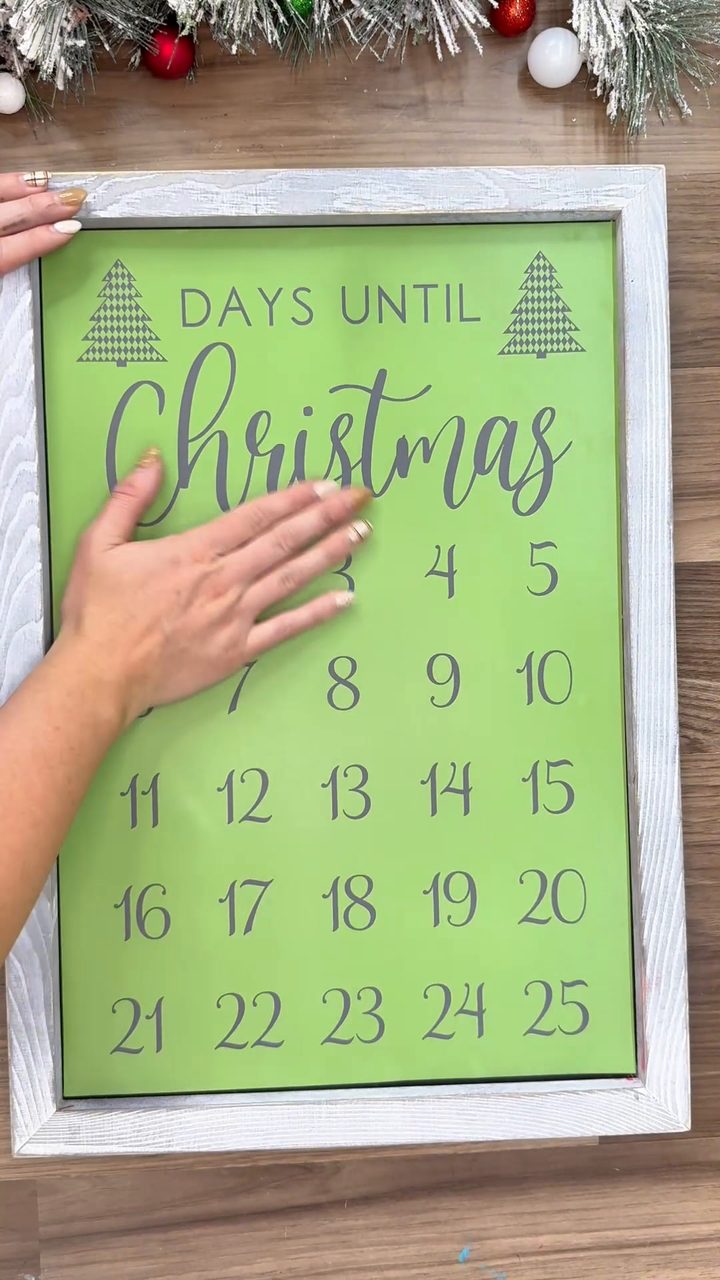
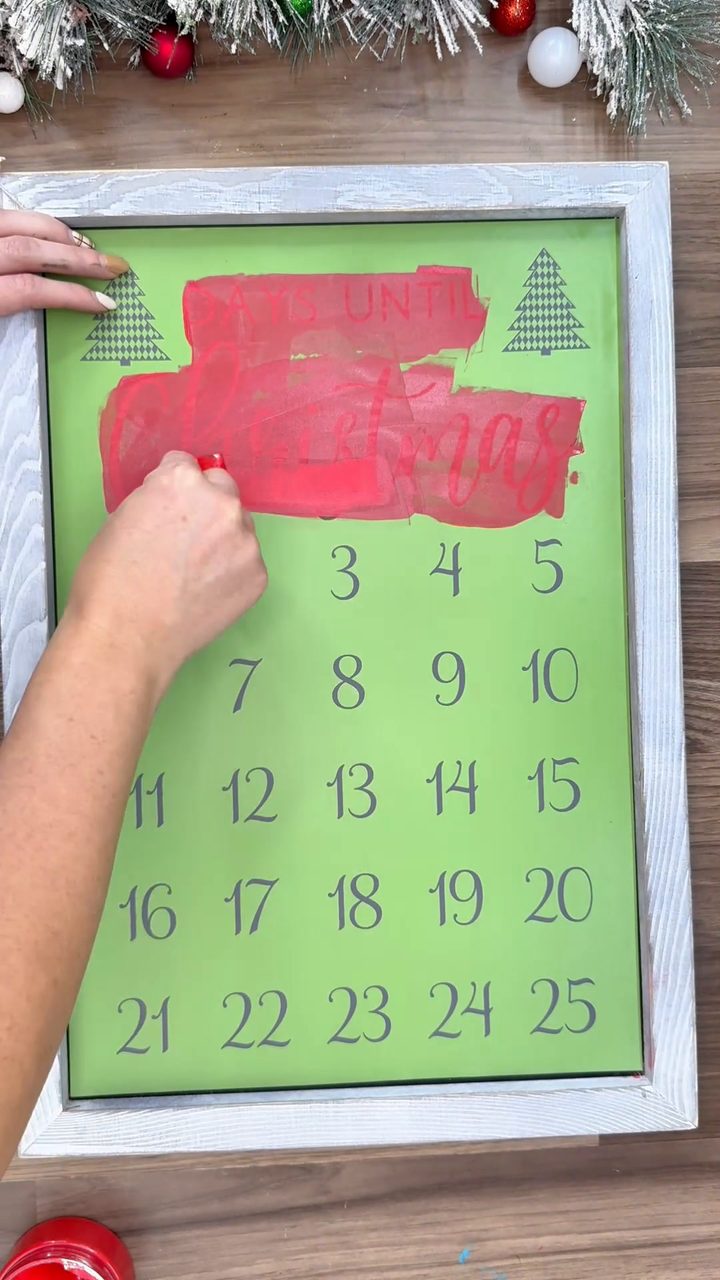
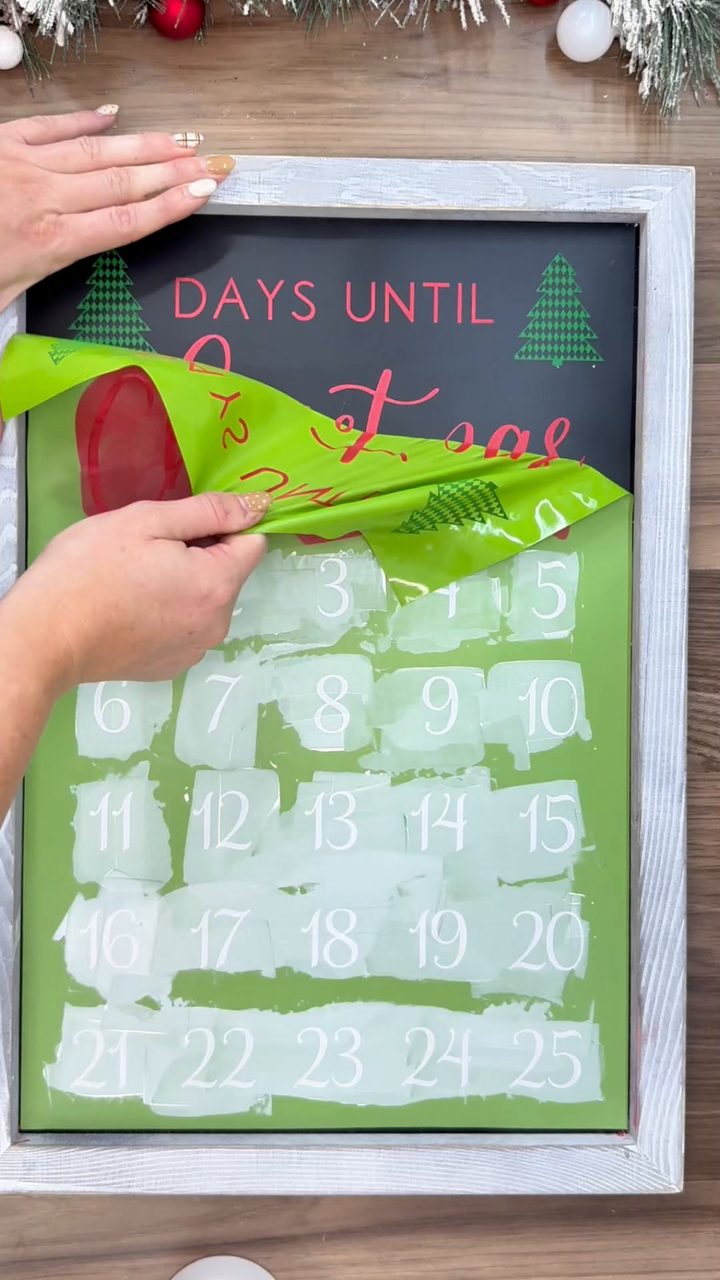
We worked one color at a time: red for “Christmas,” green for the trees and white for the numbers. Pull a thin, even layer of chalk paste across the design with your squeegee, and work quickly so the paste doesn’t dry in the stencil.
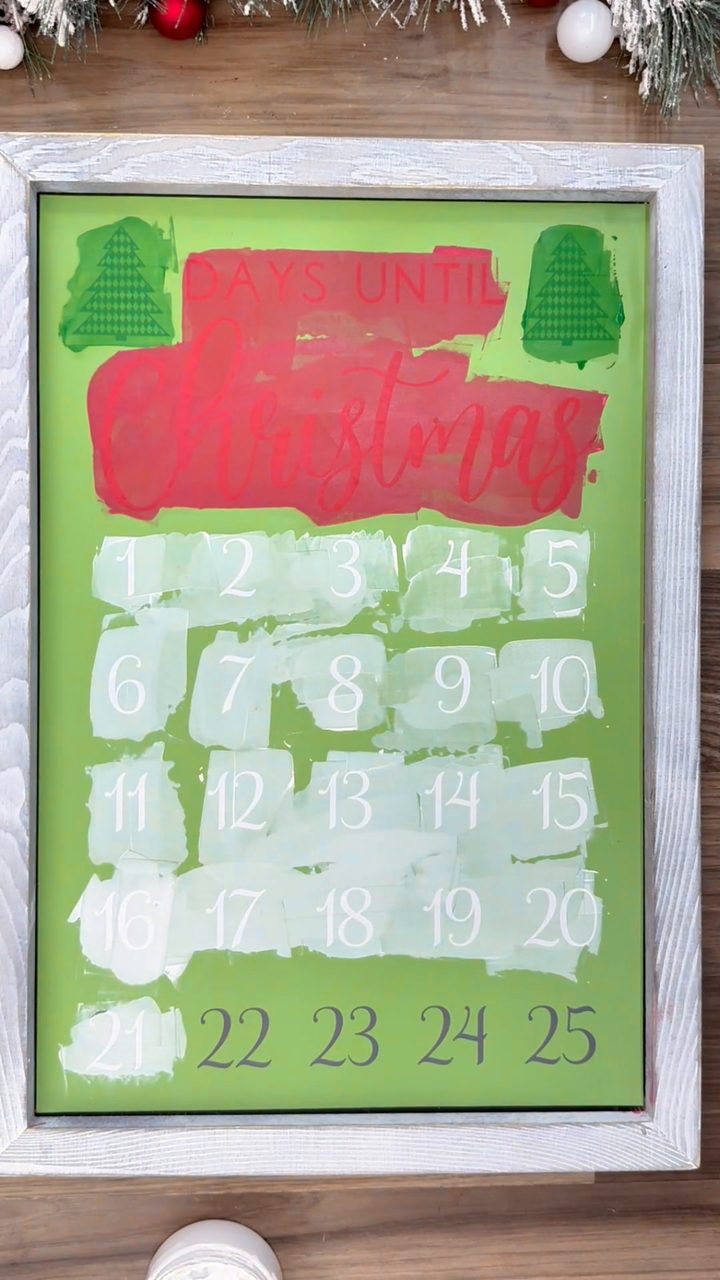
Our favorite part! Peel the stencil off slowly, starting at one edge (not on the diagonal). If a spot didn’t fill in, lay the stencil back down, add a little more paste and lift again.
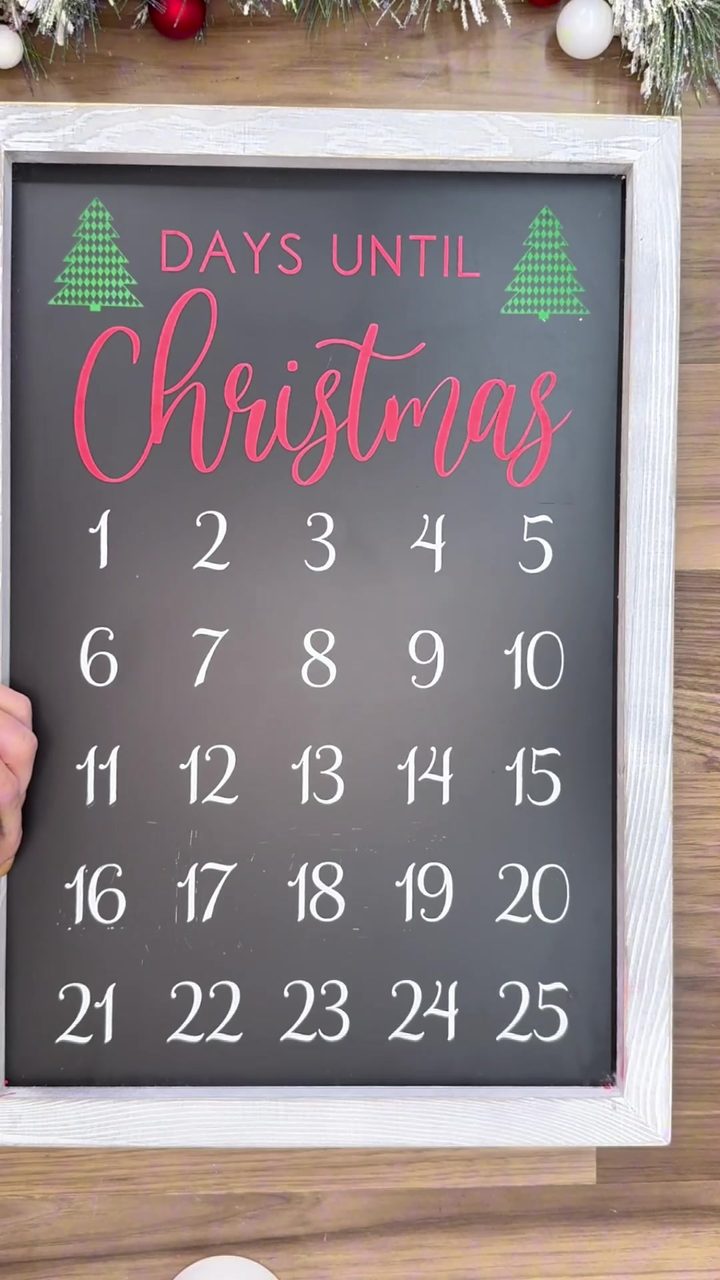
Mark Off the Days
Our chalkboard was magnetic, so we hot glued a small magnet to the back of each mini bow and moved them from day to day all December. On a wood board like our shelf sitter, a little removable adhesive putty on the back of each bow does the same job.
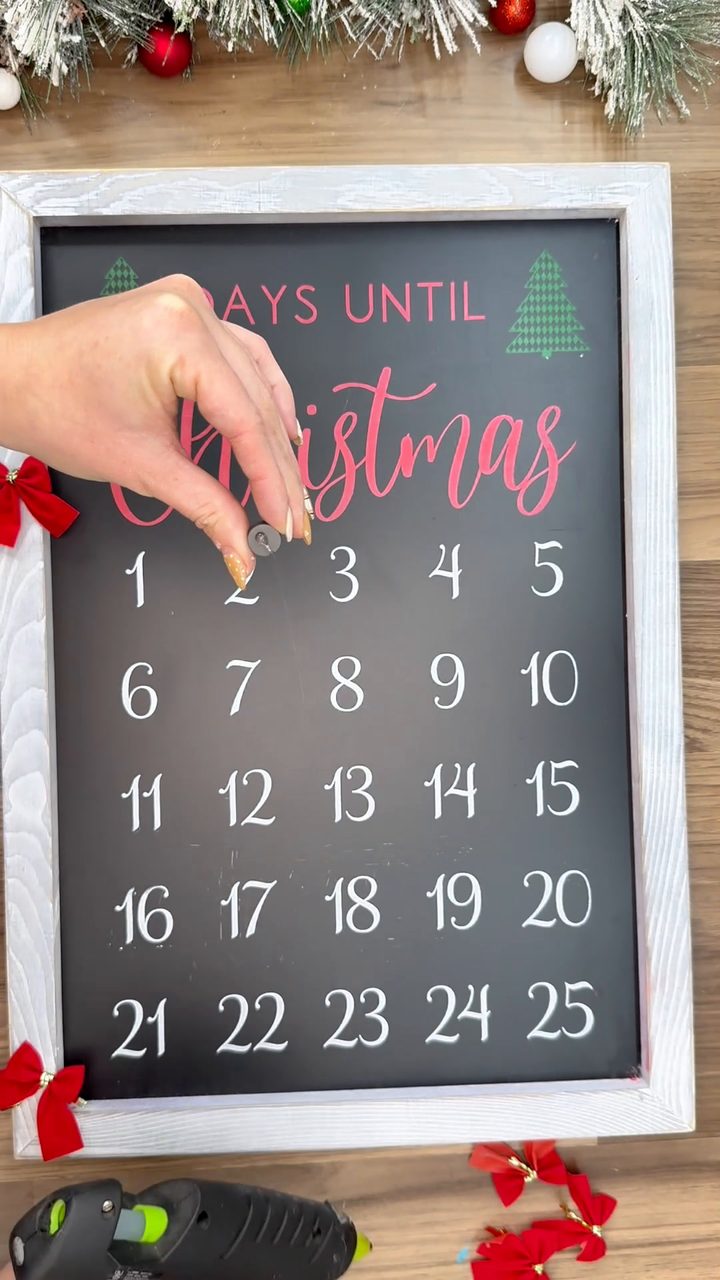
And that’s it! A Christmas countdown that looks store-bought, made in an afternoon with a stencil you can pull out again next year.
Pin It
Caring for Your Stencil
- Rinse it right away under cool water. Don’t let paste dry on it.
- Wipe both sides gently with a sanitizing wipe (never baby wipes, they break down the sticky back).
- Dry it sticky side up, then put it back on the shiny side of its backing.
- Store it flat, and it’s ready for next December.
Advent Calendar FAQs
Do I need a Cricut or a cutting machine?
Nope! Our stencils are ready to use right out of the package. Peel, place, paste, and you’re done.
Can I reuse the stencil?
Yes. Our stencils are reusable, so rinse it, dry it and store it on its backing, and you can make this again next year or gift one to a friend.
What else can I put this design on?
Chalk paste works on hard surfaces like chalkboards, painted or stained wood, glass, mirrors and metal, so a wood sign or a big mirror would look just as cute.
Shop the Advent Calendar Stencil
Grab the stencil and your favorite chalk paste colors, and start counting down.