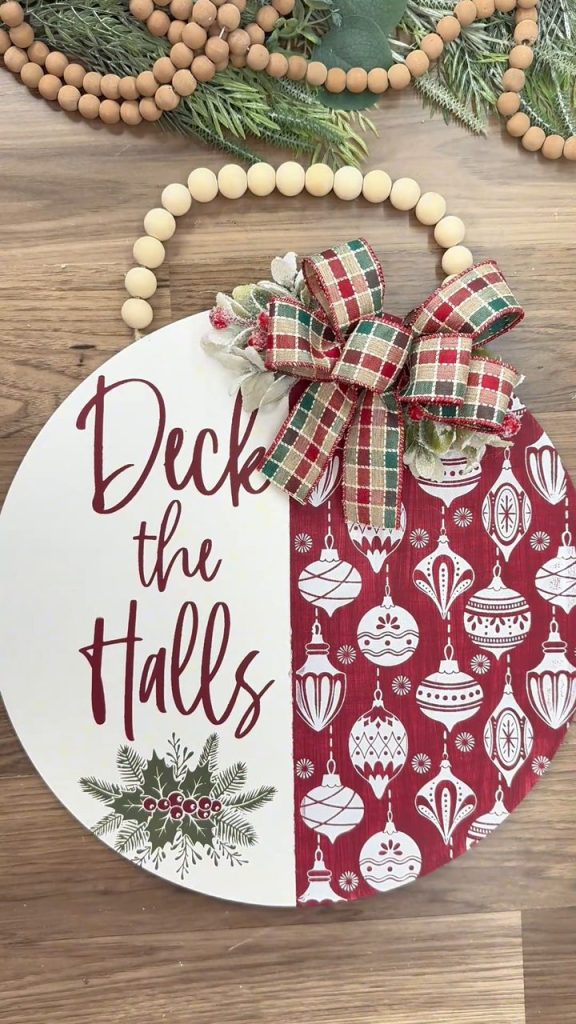
Your front door deserves a little holiday magic too! This Deck the Halls door hanger pairs a classic ornament pattern with pretty script lettering, all on our 15 inch beaded round. Top it with a big plaid bow and it’s the first thing everyone sees when they walk up.
Watch the Whole Project
Peel, place, paste, peel and reveal. That’s really all there is to it.
What You’ll Need
- Our DIY Kit 15 Inch Round Door Hanger with the Deck the Halls stencil (the ornament pattern and the lettering)
- Chalk paste in white, cranberry red and green
- A mini squeegee and a small detail brush
- A Tacky Towel (or a soft T-shirt)
- Your own ribbon for the bow (grab your favorite plaid!)
How to Make a Deck the Halls Door Hanger
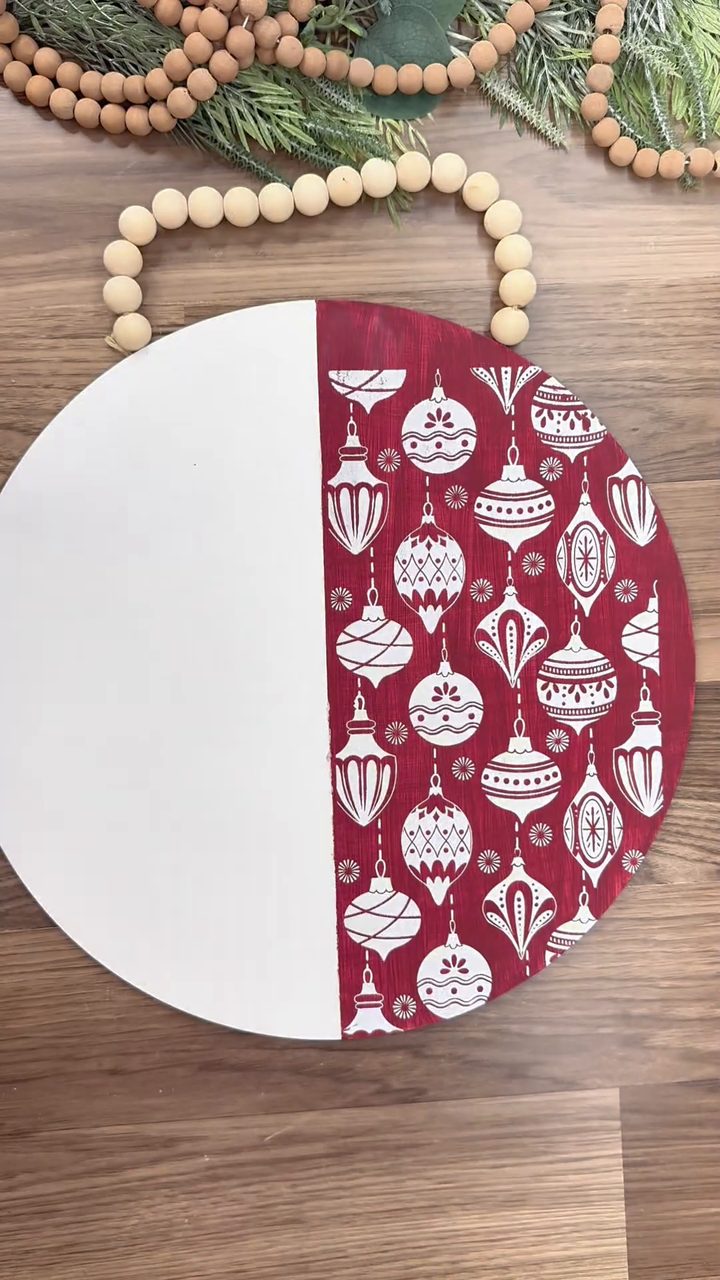
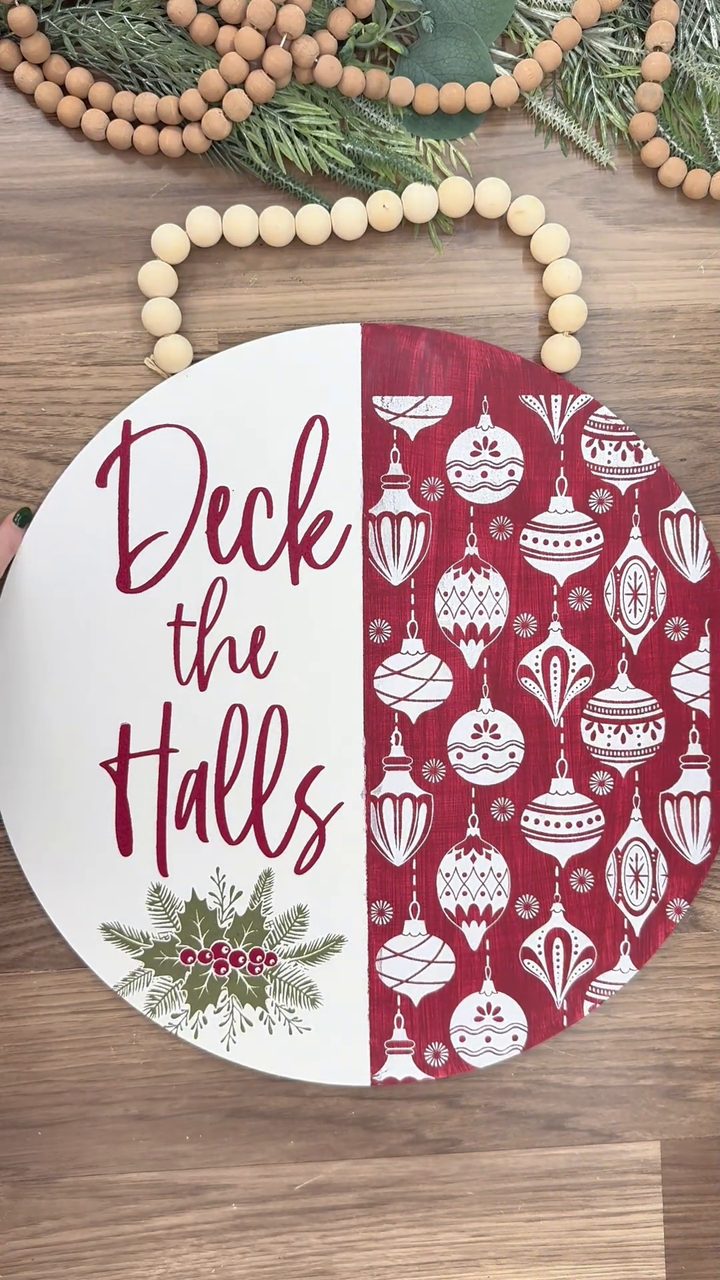
Our round started two-tone, half white and half a deep red, which is what makes the two designs pop against each other.
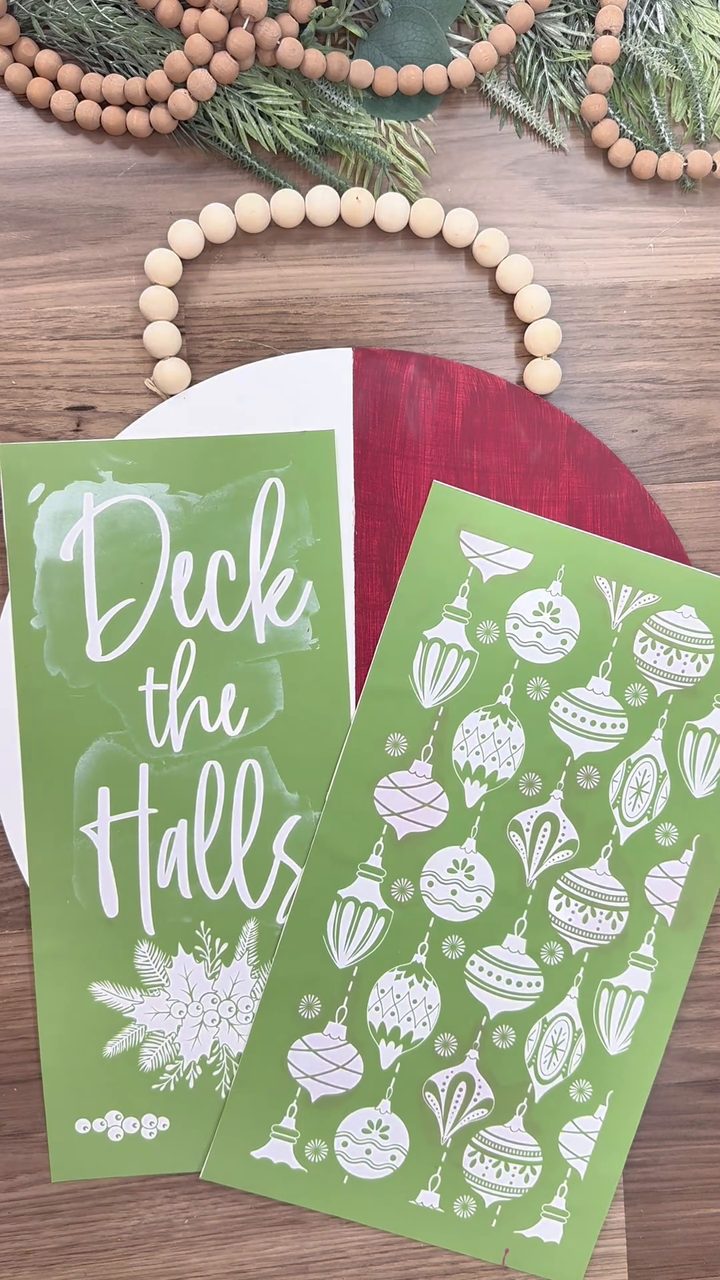
Peel the ornament stencil off its backing top to bottom, never corner to corner, so it doesn’t stretch. New stencil? Fuzz it on a Tacky Towel first so it lifts off cleanly later.
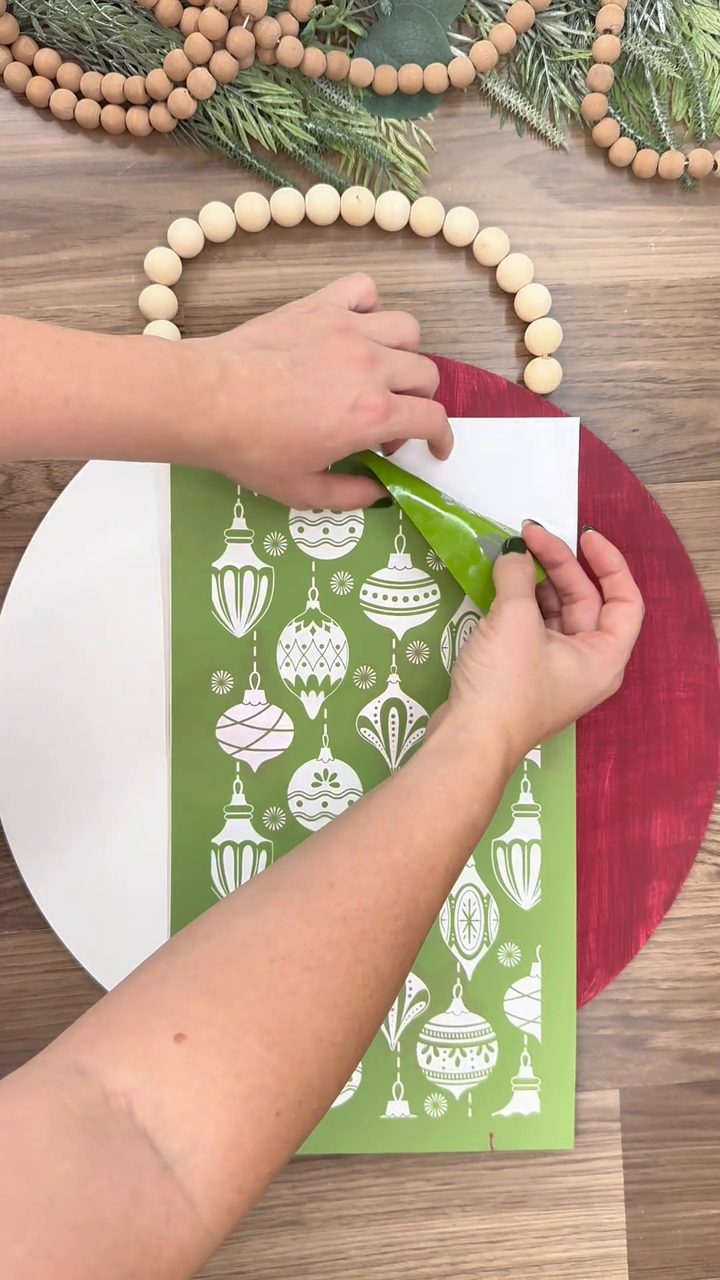
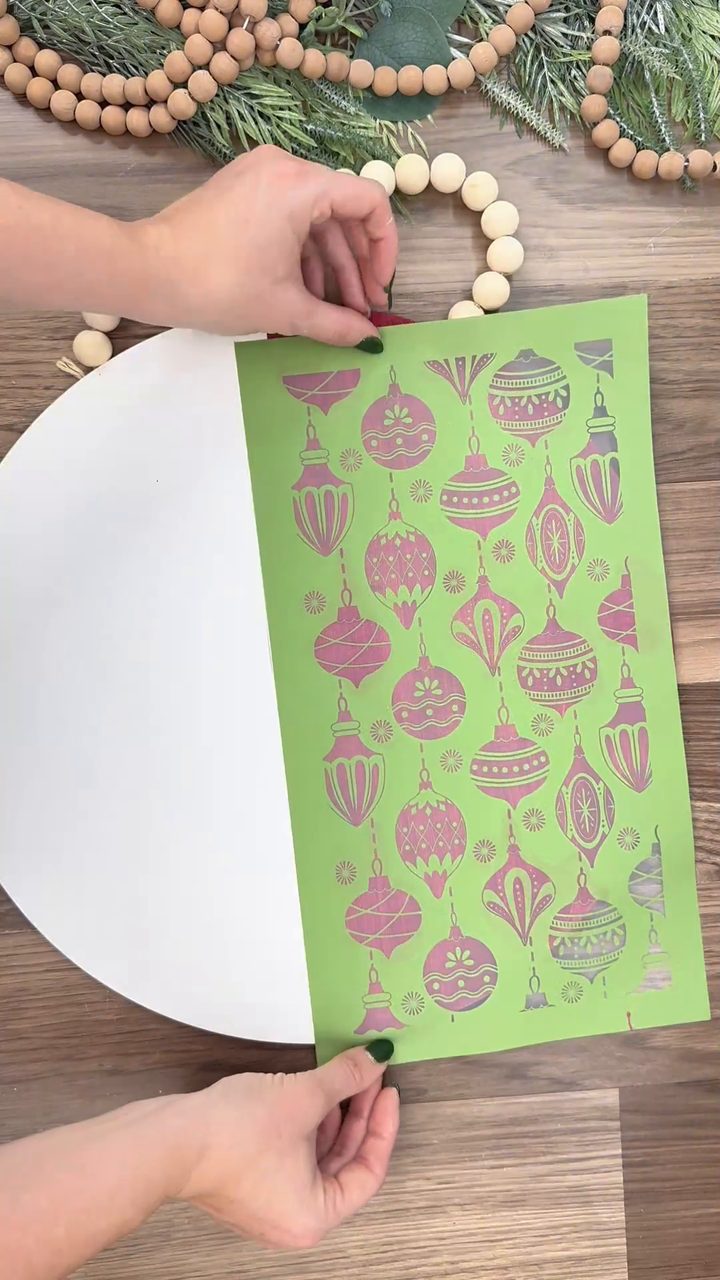
Lay the ornament pattern sticky side down over the red half and smooth it from the middle out.
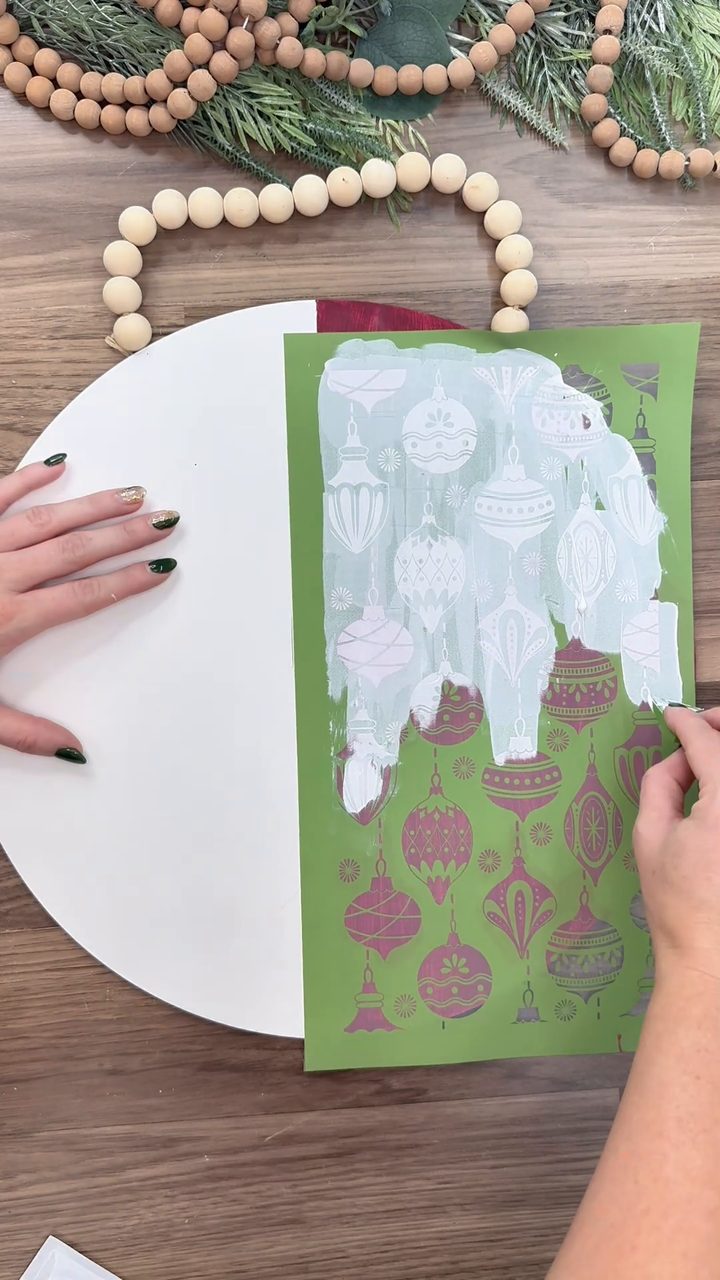
Pull a thin, even layer of white chalk paste across the ornaments with your squeegee, then peel to reveal the pattern. Rinse the stencil right away.
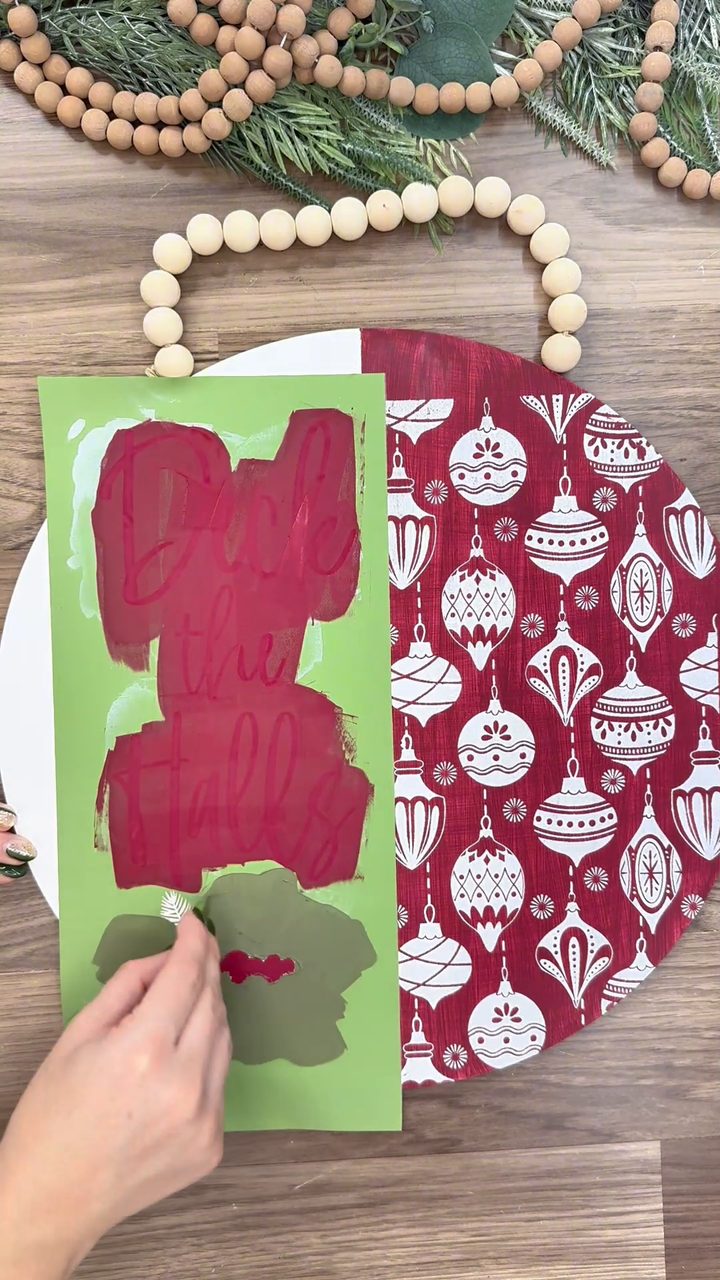
Place the Deck the Halls lettering on the white half. Pull cranberry red across the words, then use a small brush to dab green into the greenery.
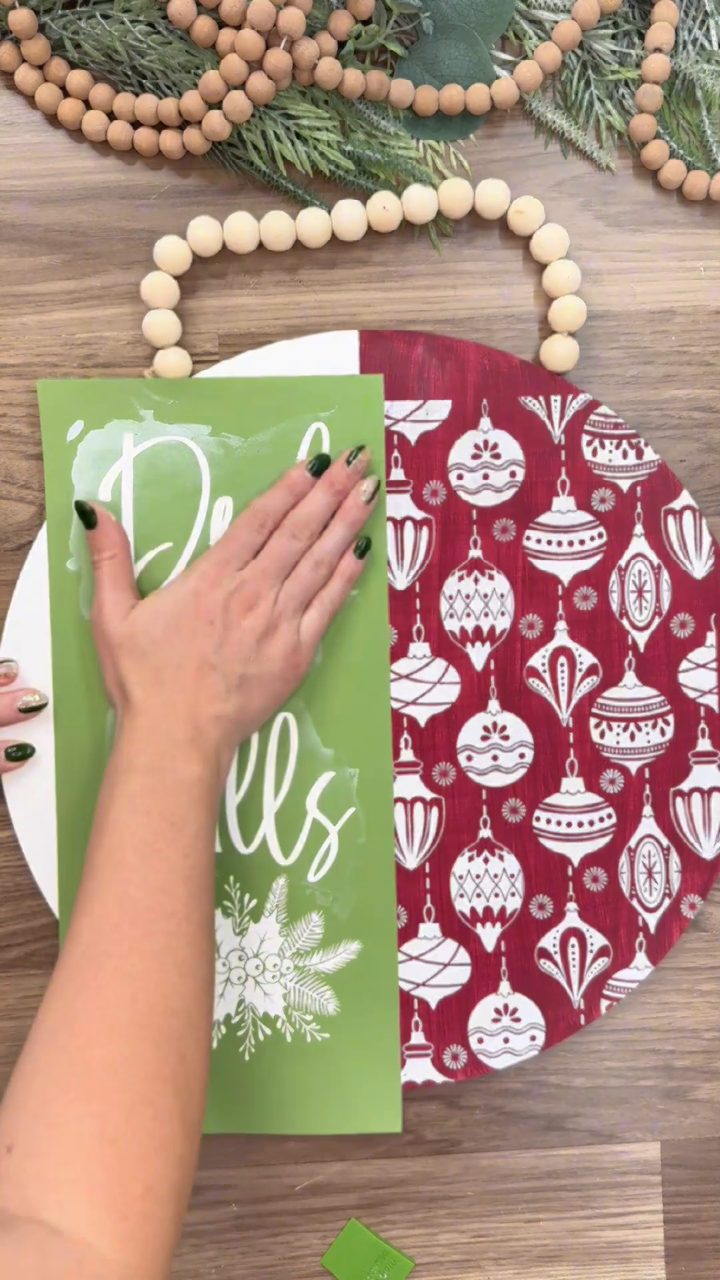
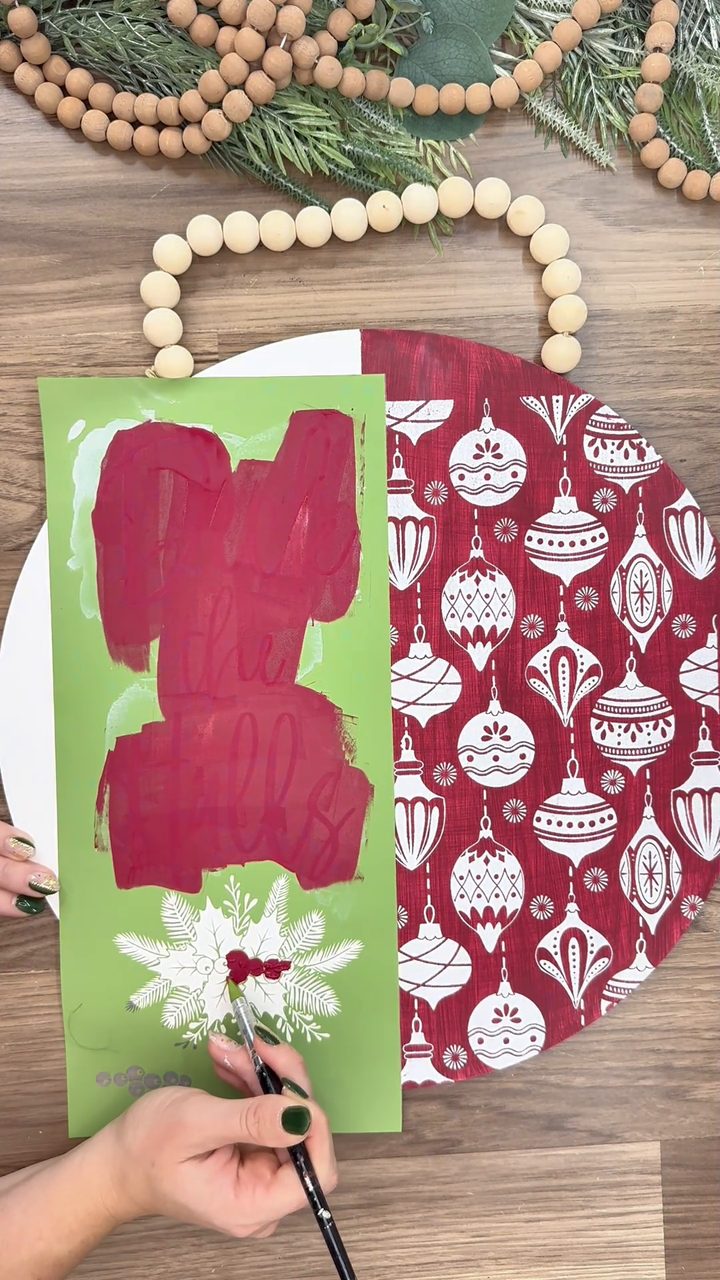
Our favorite part! Peel slowly, starting at one edge. If a spot didn’t fill in, lay the stencil back down, add a little more and lift again.
Add Your Bow
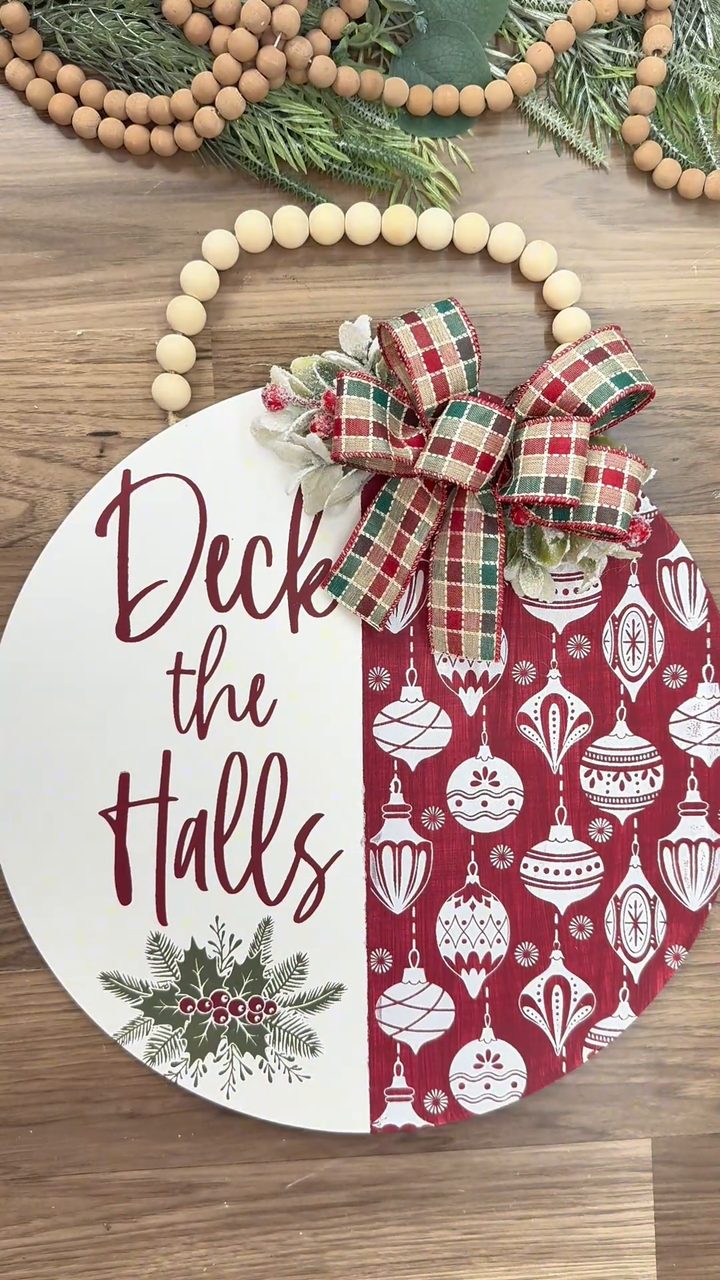
Grab your own ribbon and tie a big, fluffy bow for the top of the round. A plaid in red and green pulls both halves together beautifully.
And that’s it! A door hanger that looks boutique-bought and welcomes everyone all season long.
Pin It
Caring for Your Stencil
- Rinse it right away under cool water. Don’t let paste or ink dry on it.
- Wipe both sides gently with a sanitizing wipe (never baby wipes, they break down the sticky back).
- Dry it sticky side up, then put it back on the shiny side of its backing.
- Store it flat, and it’s ready for your next project.
FAQs
What comes in the DIY kit?
Our DIY Kit 15 Inch Round Door Hanger is built around the beaded round, and you pick the stencil design you want. The ribbon for the bow is not included, so grab your favorite.
Can I use different colors?
Absolutely. Our chalk paste comes in lots of colors, so you can match your front door or go with a classic red and white like we did.
Can I reuse the stencils?
Yes. Our stencils are reusable, so rinse them right after you peel and store them on their backings for next year.
Shop the Deck the Halls Door Hanger Kit
Grab the 15 inch round door hanger kit with the Deck the Halls stencil, then add your favorite ribbon.